


Y sigo con los marcos... La verdad es que tengo un montón y como me encanta hacer proyectos con cosas que tengo en casa pues eso que me repito un poco... Esta idea la vi en The Crafty Housewife que a su vez la había visto en Peach Fizzz. Me pareció super chula y fácil de hacer así que aquí os dejo el tutorial por si os animais.
And another frame... The truth is that I have a lot of them and since I love to make projects with things that I've already have, I have lots of frame projects.. oh well... I saw this idea on The Crafty Housewife who had found it on Peach Fizzz. I think it's super cool and easy to make so here's the how to in case you want one.


Y un poco de tela gruesa que se me olvidó fotografiar...
And a piece of thick fabric that I forgot to take a picture of...
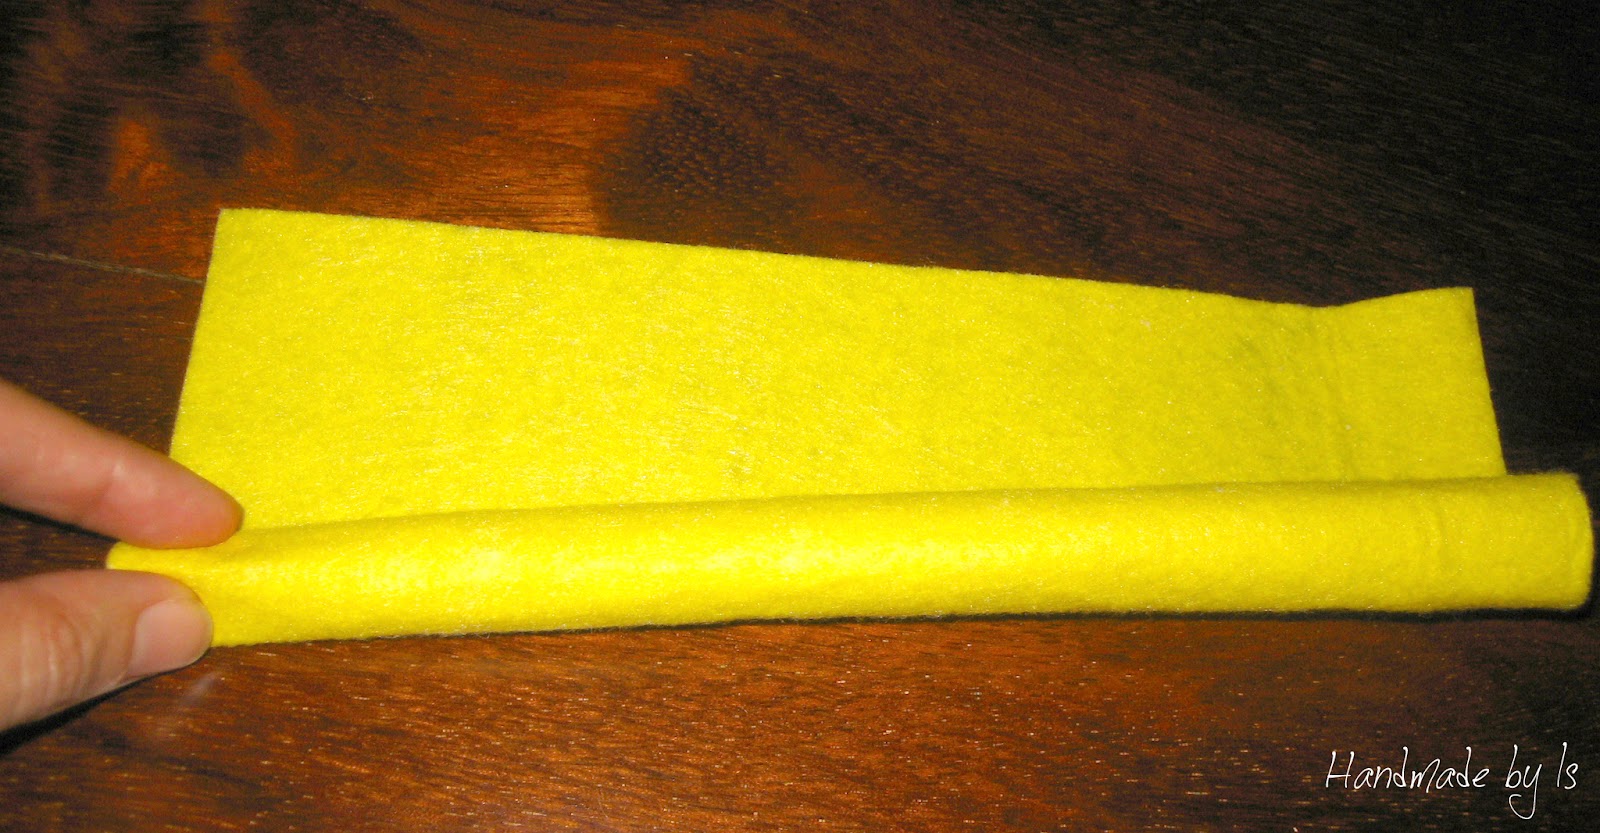
Mide tu marco y corta la bayeta del mismo ancho, a continuación empieza a enrollarla hasta que formes un rulito y aseguralo con un poco de pegamento.
Start off by cutting your cloth to the same width as your frame. Tightly roll them into a sausage making sure to glue the end down so it doesn't unroll.

Haz suficientes rulitos para llenar el marco
Continue to make rolls until they fill your frame

No está muy bonito... vamos a forrarlo con la tela
Not very nice... let's cover it with the cloth

Corta un trozo de tela del mismo ancho que tus rulitos y suficiente para cubrir dos. Pon un poco de pegamento en los bordes y enróllalos hacia el centro hasta que se encuentren en el medio.
Next cut a piece of fabric the same width as your rolls and enough to cover two of them. Put glue on the border and stick a roll at each end of the fabric and roll them inwards towards each other, ensuring the fabric is tightly wrapped around each roll, until they meet in the middle.


Pon pegamento donde se junten los dos rulitos para que se mantenga cerrado.
Put some glue where the two rolls meet (in the middle) to keep it sturdy.
Colócalos en tu marco y asegúralos con un poco de pegamento
Place them in your frame and glue the borders to keep them secure.

Yo coloqué una madera por detrás para que quedara mejor acabado.
I added a piece of wood in the back to finish it.

Coloca tus anillos!
Place your rings!

Parties:
See sidebar
This project was featured:


What a great project! I love how it turned out. Very elegant! Now I have to go hunting for a nice photo frame...
ResponderEliminarWOW that is so awesome and CREATIVE...thanks for the tutorial....i am totally inspired...
ResponderEliminarWhat a wonderful idea!! I will be sure to come back and check out more of your posts!!
ResponderEliminarTani:)
You have a lovely blog. I look forward to seeing you at My Dream Canvas. Great ideas.
ResponderEliminarCUTE CUTE CUTE! Such a CUTE idea! :)
ResponderEliminarWOW ... what an amazing design and it came out so beautifully :)
ResponderEliminarWhat a fabulous idea!!! I would LOVE to display my rings in that!
ResponderEliminarThanks so much for sharing at The DIY Dreamer.. From Dream To Reality!
Love love love this idea! I love your creativity.
ResponderEliminarShelby
I love this. The rings become art! I would love it if you would share at my linky party Tout It Tuesday http://www.claimingourspace.com/2012/05/tout-it-tuesday-8.html
ResponderEliminarThanks for sharing on Tout It Tuesday!
EliminarThis is such a great idea!
ResponderEliminarI made one for my daughter's birthday this past week.
ResponderEliminarOh what a great idea. This turned out so neat. Thanks for sharing at our party this week.
ResponderEliminarThis is great! I love this idea! Thank you for linking back to our blog, and of course: Thank you for sharing and participation in the party http://www.finecraftguild.com/party/ .
ResponderEliminarWe'll feature a few people and have a new party tomorrow.
Hope to see you there again!
Me parece una gran idea, yo me dedico a hacer bisute´ri artesanal y tengo un verdadero problema con los organizadores, me voy a poner manos a la obra inmediatamente. He pineado este post in Pinterest. Me hago seguidora tuya.
ResponderEliminarRaquel
http://raqueljimenezbisuteria.blogspot.com.es/